A guide to Concrete Screws and how to install them

What are Concrete Screws
Concrete screws – also known as masonry screws, concrete bolts or concrete anchors – are specifically made strong enough to penetrate hard surfaces such as concrete and can be classified by types of head. A flat countersunk head version can be used for light to medium loads such as window and door frames and timberwork. The larger hex head version (Concrete Screwbolts) are used for more heavy duty work. Both can be fixed into base materials such as concrete, cracked concrete, solid brick, hollow brick or stone.
Concrete screws have a cutting thread, which when installed into the base material cuts a thread form into the concrete. The installation hole is drilled with a smaller diameter than the thread diameter of the anchor so that this cutting thread creates a physical key in the base material. They are not suitable for lightweight block or aerated concrete.
Scell-it UK Concrete screws – Countersunk head
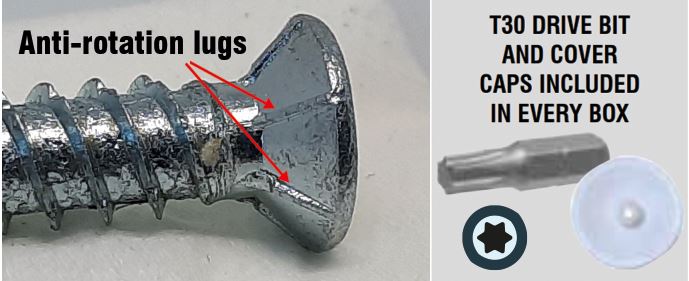
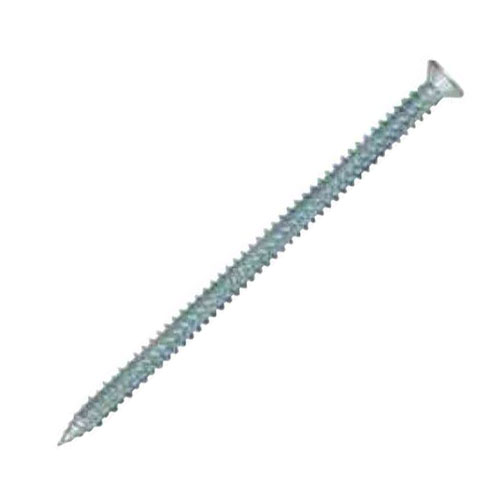
Scell-it UK provide both a countersunk and hex head concrete. The Scell-it CWS concrete screw is a countersunk version and is Zinc Plated to protect against rust. This coating is a minimum of 30 microns to provide very high protection on the exposed head of the fixture. T30 drive bits and white head caps are provided by Scell-it UK in every box.
Anti-rotation lugs are built into the head (see pic) to prevent turning movement of the installed fixture in situations where vibrations are present (e.g. fans, motors).
For Hex head style concrete screws – see Scell-it Concrete Screwbolts.
How to install a concrete screw (countersunk T30 head)
As with all anchors, correct installation is vital to avoid serious failures.
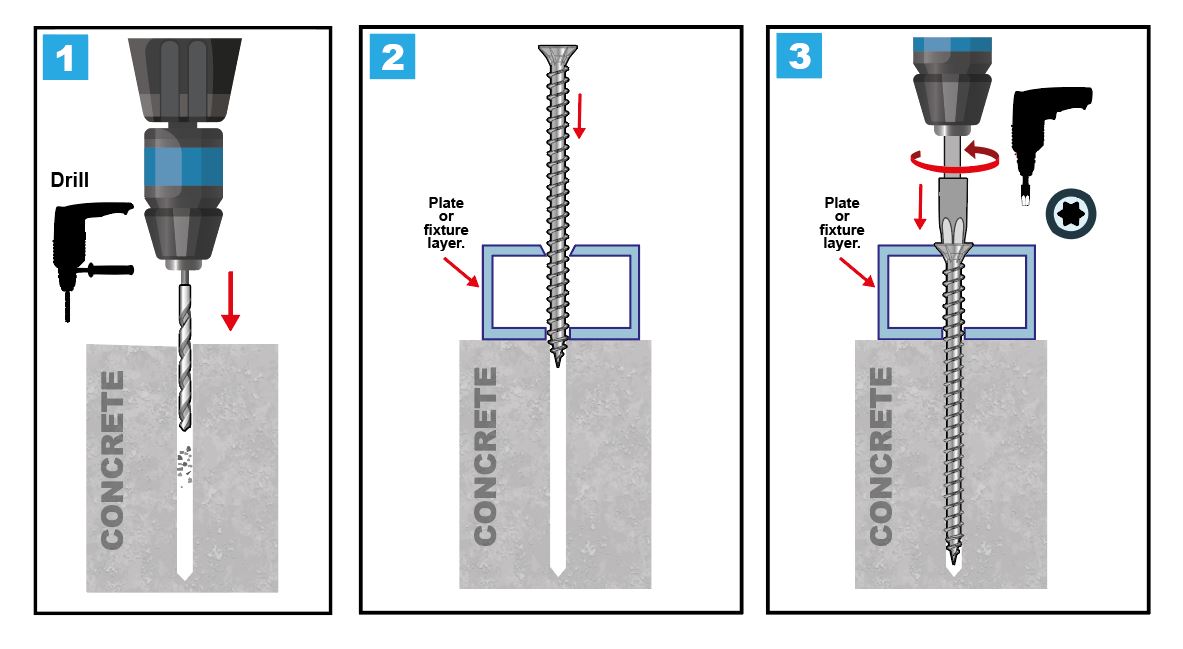
1. Drill out the pilot hole with a slightly smaller diameter than the anchor. Allow extra depth for dust accumulation. A hammer drill is recommended for drilling into concrete.
Example: A Scell-it 7.5mm(0) x 62mm(L) screw fastening a 20mm fixture requires a 6mm drilled hole diameter to a depth of 48mm. This gives a good 5mm gap at the bottom to allow for drill dust and debris.
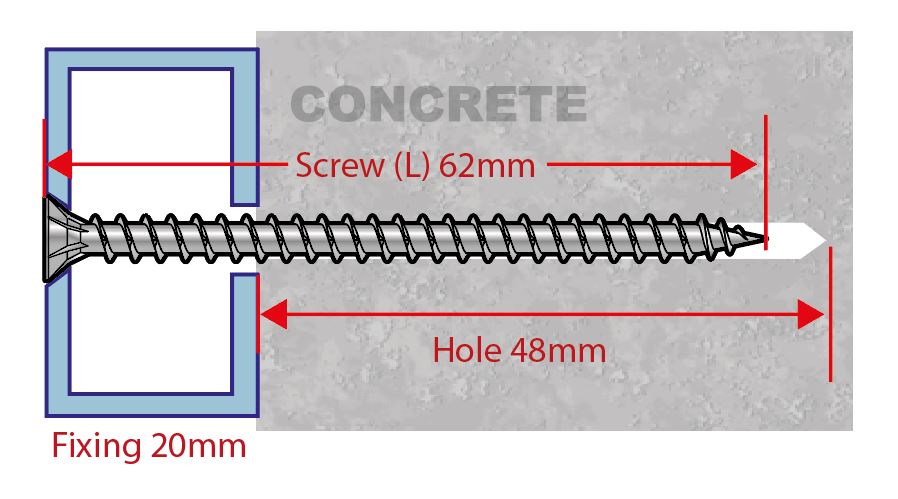
2. Position the screw through the fixture and into the hole.
Note: The fixture hole should be drilled out using a countersunk drill bit to accommodate the countersunk head.

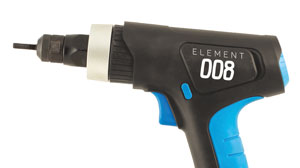
3. Using a T30 drive bit (supplied) on a mechanical impact wrench – screw until the screw head is flush with the fixture.
For more information contact Scell-it UK at sales@scellit.co.uk or call 01785 246539.

 Scell-it Concrete Screws